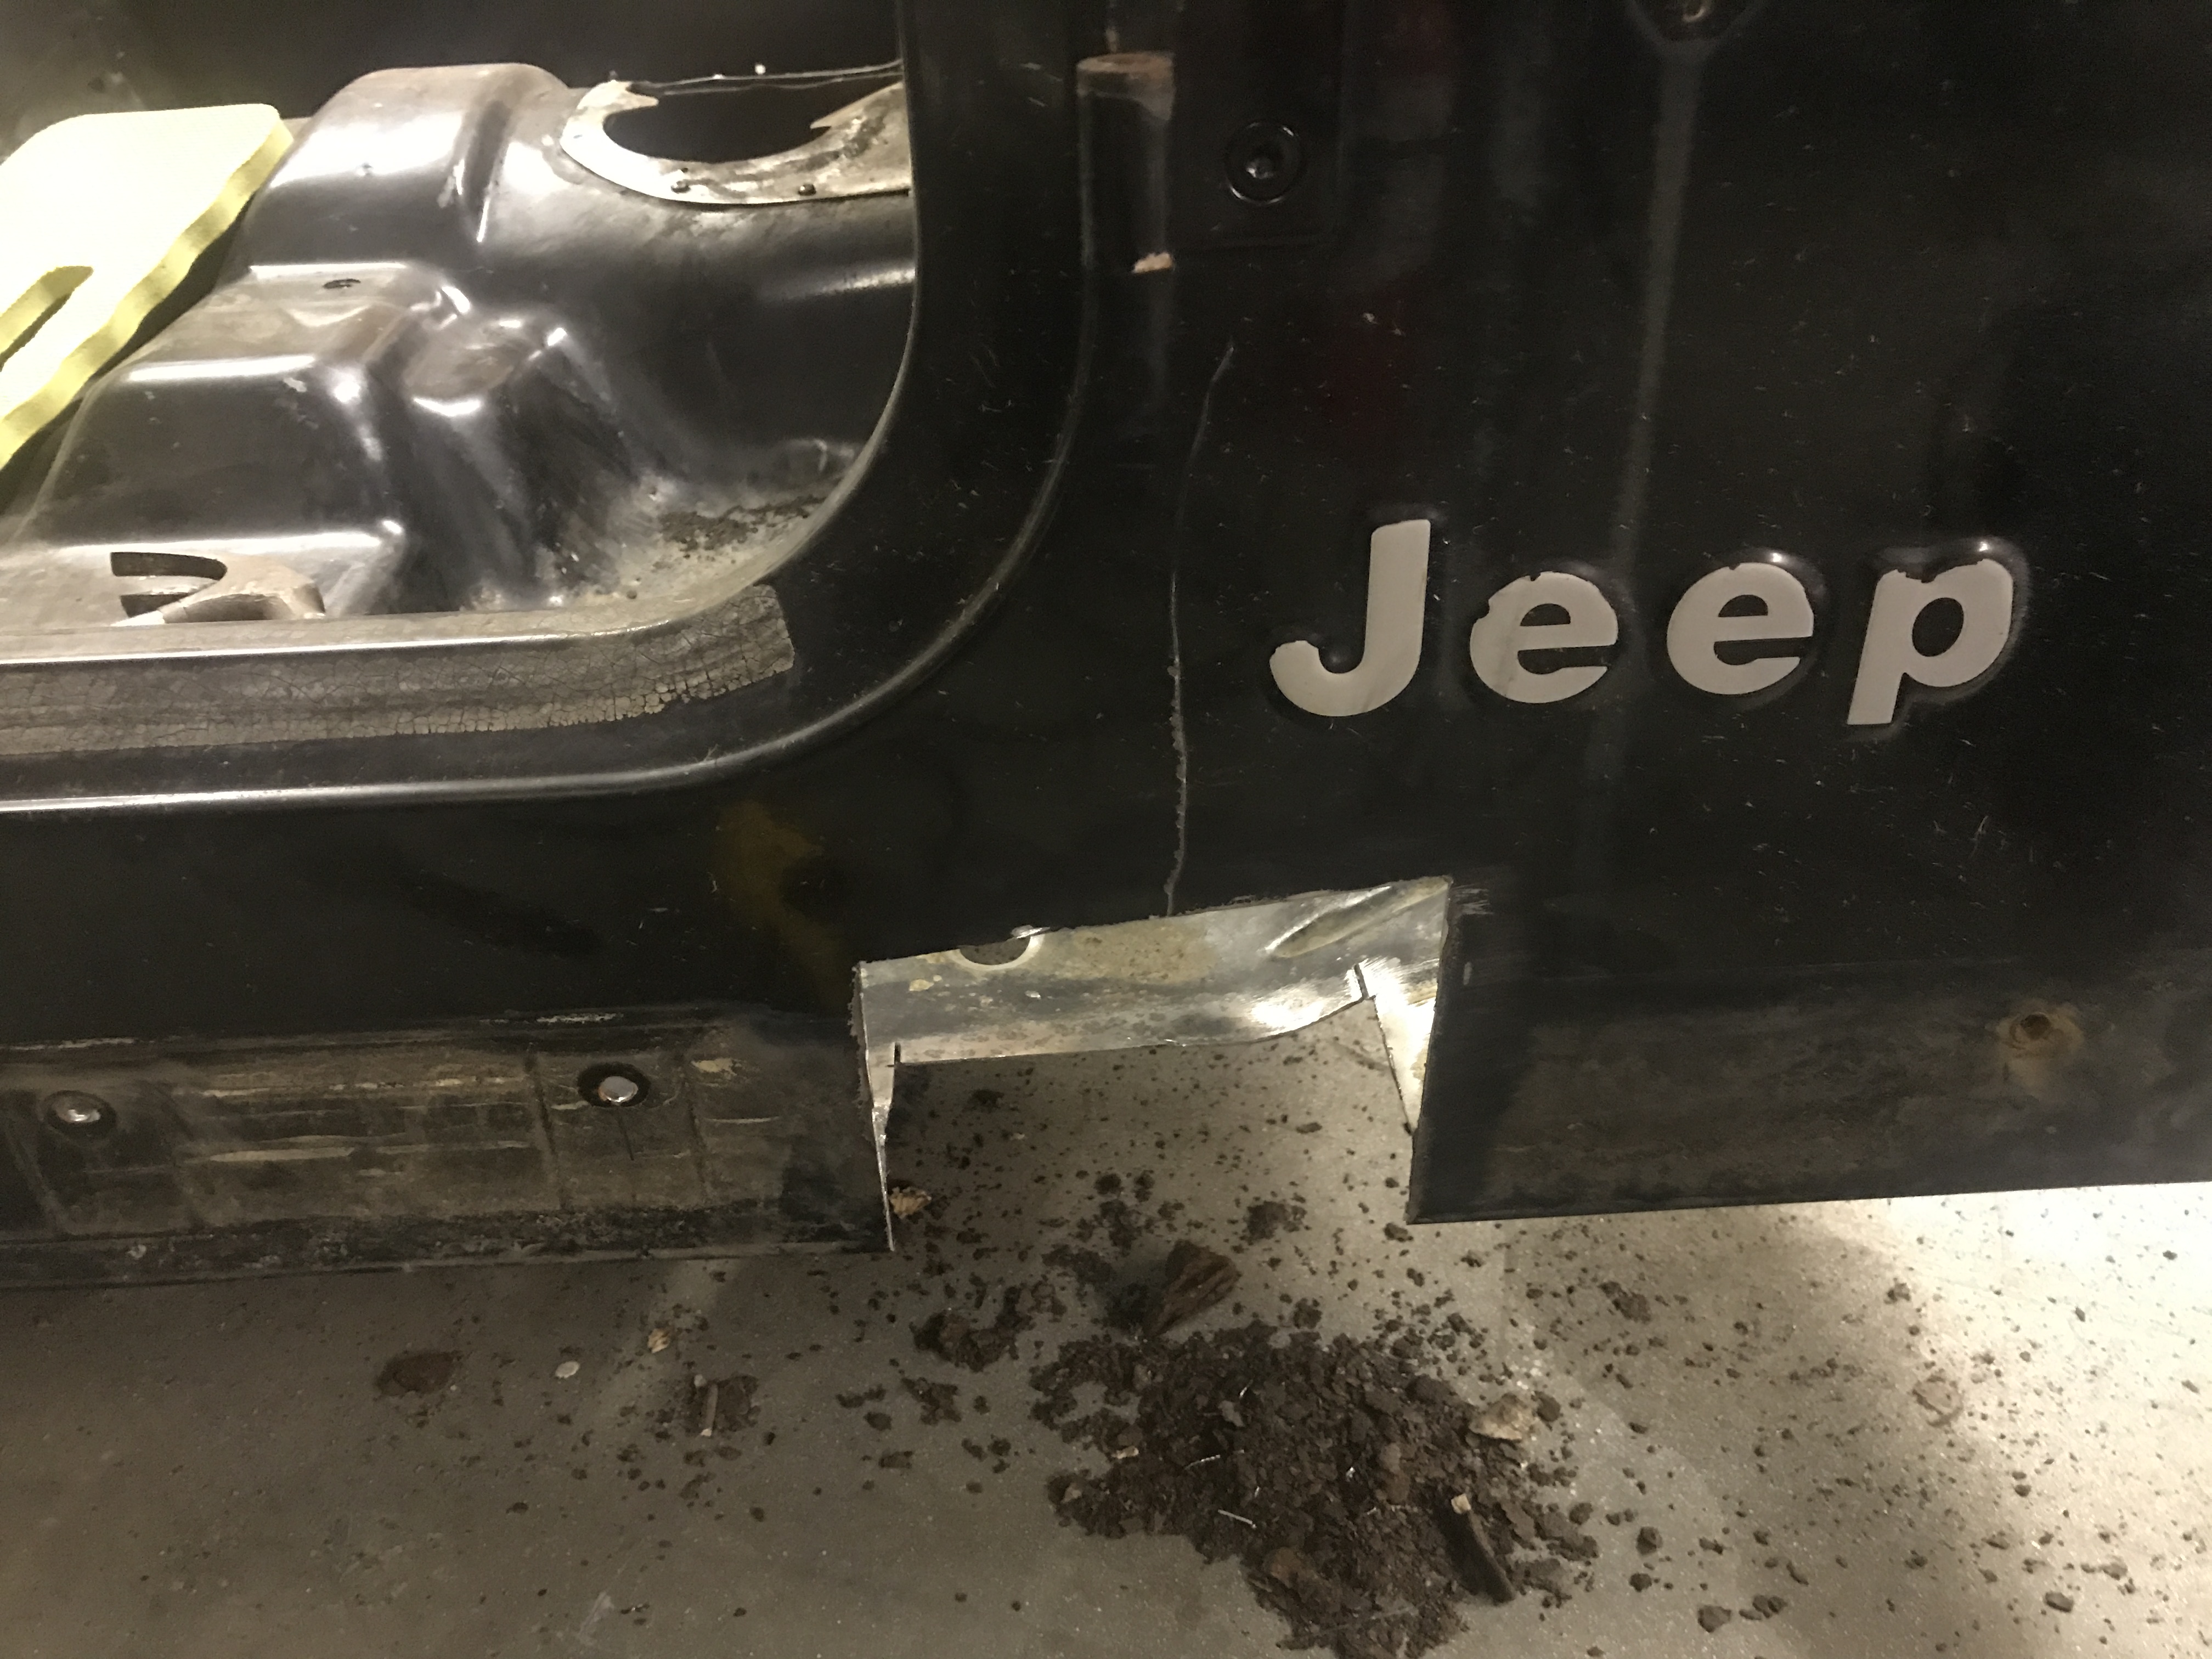
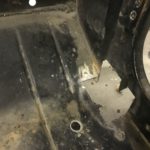
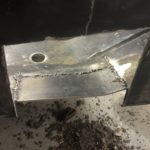
Tonight, more on a whim, I headed out to the shop and decided to explore the rust on the passenger side floor just in front of the door. I knew it had a hole that went through the floor, but as I explored around I realized it also had eaten the metal on the exterior panel just like the driver’s side had. This was a bit of a frustration because, as I had mentioned in previous posts, this tub was supposed to not be eaten up with rust and every time I explore around I find another rust hole.
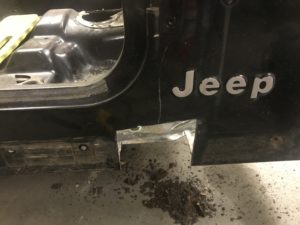 Well, tonight I just jumped in with both feet, or hands. I grabbed the cutting wheel and cut out all the rust. I basically made square cuts in the floor and then through the rocker panel between the door jam and the “Jeep” logo imprinted in the panel. I tried to keep the cutting as square as possible because I’ve learned that square replacement plates are easier to cut out of 16 gauge steel than curvy ones.
After a few minutes I had the hole cut and cardboard in hand I was drawing up the replacement panel and trimming the cardboard to size. Since this is the first repair panel that you absolutely will see (even though it’s in the floor) I took my time and was very careful with the cuts. The hole is through both the floor and the side panel so I am making a 2 piece replacement. The first piece is for the floor and that’s what I marked out on the cardboard.
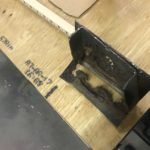
A little while later (and a few extra shavings off the edges) and I was tracing the outline onto the metal. This piece has to be bent to follow the shape of the floor I was careful to make sure the cardboard also bent in that shape. I’ll have to trim some extra here and there once the metal is in place, but the general shape is important.
Those square cuts sure did help and I had the panel cut and fitted to length in record time. I then used a bolt pushed through a hole in my workbench to sit the plate on and smack it with the hammer to bend the steel into the shape I needed for the floor. Patience here was really important and the end result was quite impressive for a first timer.
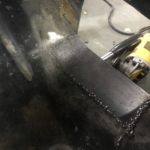
I fitted the panel into the hole and carefully tacked it… refitted it… tacked it… refitted it… and tacked it into place. Then I went around filling in the weld trying to spread the heat so it didn’t warp. I didn’t finish tonight, but what I’ve gotten done so far I am very happy with and I had to show my wife when I got back inside so she could also be proud of how good I’m getting with the welder.
