Welcome back to the party!
Today has been an absolutely FANTASTIC day. So many things going on, lots of progress, and lots of energy being poured into the Jeep.
Hmm… where to start…
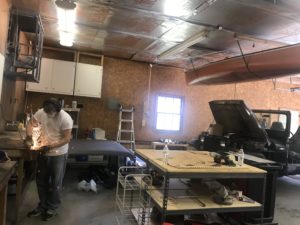
First off, I have been diligent about sourcing and picking up raw materials in preparation for today for the last week. You see, today I took a vacation day from work with the expressed intent to stay in the shop all day long and work on the Jeep. I have so much to do and my wife and I thought it would be good to get a jump on some of the more involved tasks (namely all the stuff I have absolutely zero experience with doing).
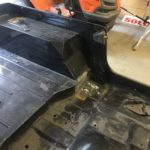
With that in the background, today was all about patching the tub. I had to make a call on whether the tub I picked up for really cheap was worth the time investment or if I should fix the one I had or if I should just buy something new. After much deliberation I decided to try to fix the replacement tub. It has several rust spots and each time I dig into it I find more places that will need attention. As of right now the patches that need to be made are to the floors under the rollbar, one plate behind the rollbar, the floors on both sides of the jeep where the supports from the cowl rest, and the external panel under the “Jeep” logo on the rocker panel just outside the cowl support ont he driver’s side. There are also a couple of splits/cracks in the metal in the floors on the passenger side near the seat mount and one in the middle of the front floor. Each of these will need some level of attention. (If you contrast that with the old tub the rust in all those same spots is just much worse and it also has a couple of body mounts that are completely gone due to rust that would have to be rebuilt.)
 I started with the floor under the driver’s side support for the rollbar. I grabbed the 4″ cutting wheel and a few minutes later I had a reasonably sized hole and no rust. I wire-brushed the entire area to get it down to the metal and clean it up and then cut a new piece to fill the hole from 16 gauge sheet metal. I mocked it up first with cardboard and then using the same cutting wheel trimmed it out of the 1′ x 2′ panel I picked up from Lowes Hardware earlier in the week.
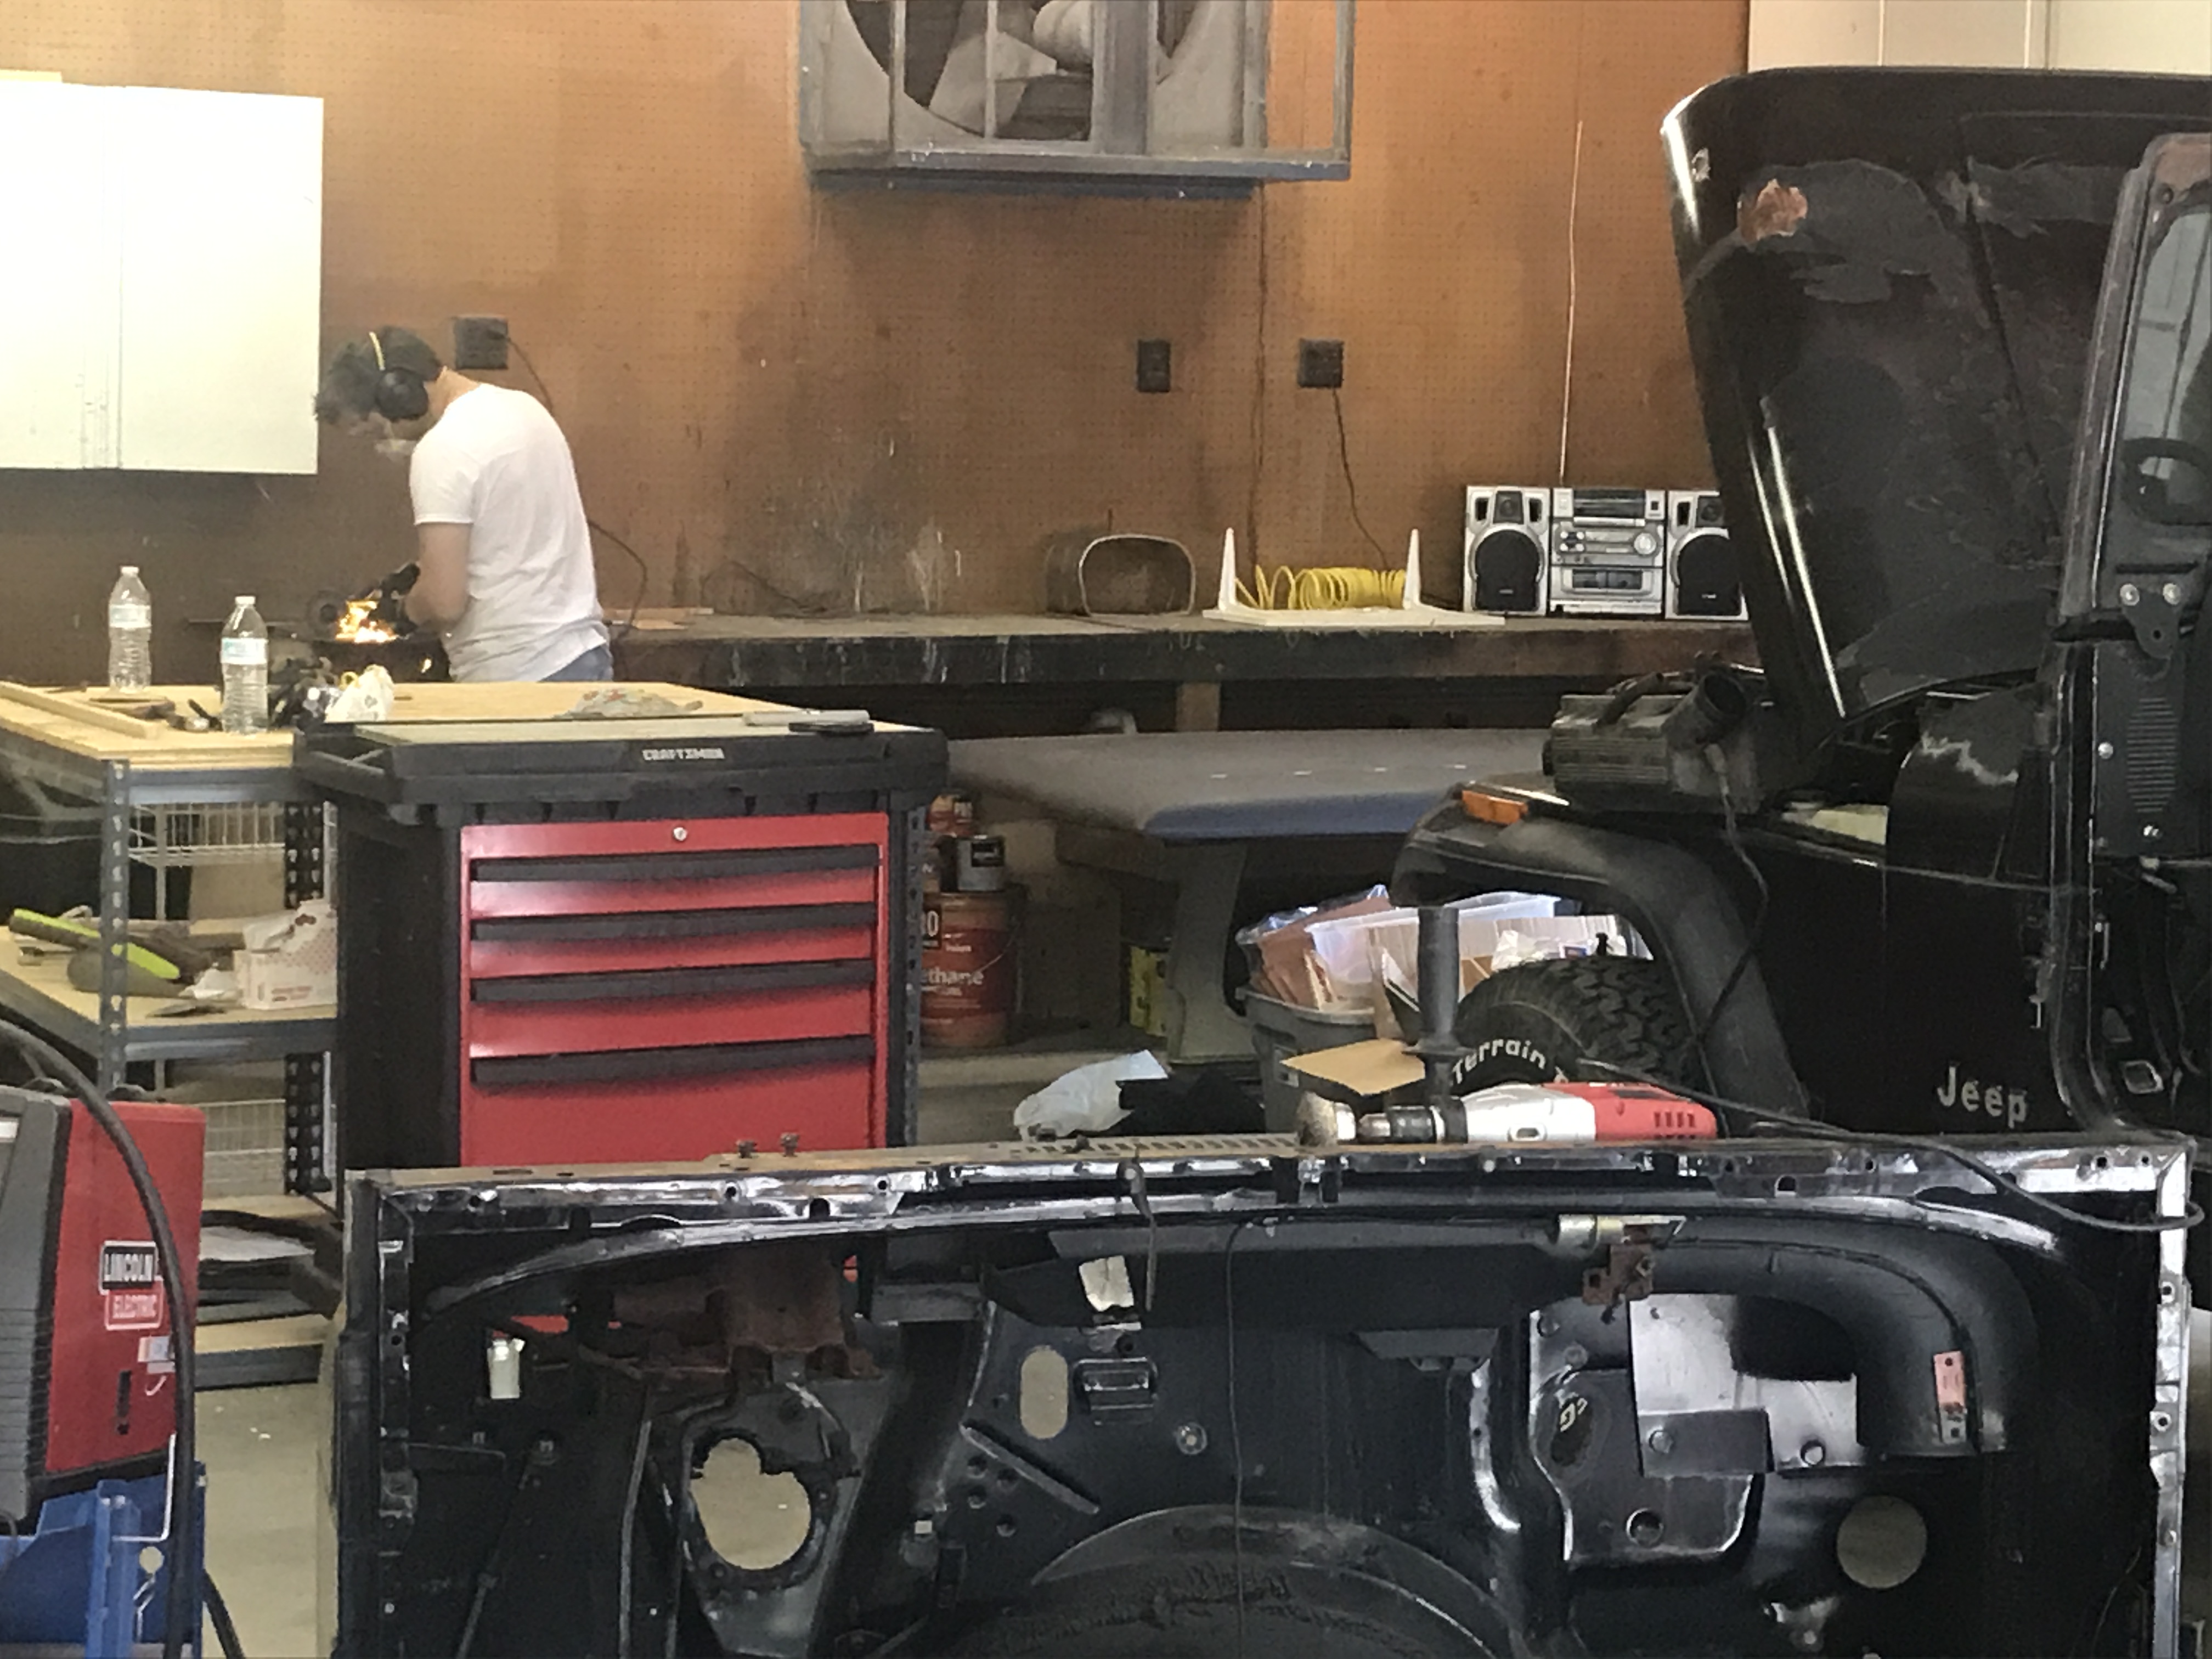
Once I had the patch in hand and fit into the hole it was time to pull over the MIG (set up for flux-core) welder and have a go at it. It has been a very long time since I welded anything and even then it was stick (arc) welding in an auto mechanics class in high school. It’s not like I have any real experience. Patiently and carefully I set up the welder (having studied up via a combination of tutorials and youtube videos). I had everything I needed because my brother does know how to weld and I had just borrowed all his stuff. Admittedly, it took me a bit of reading to figure out that it was using Flux-core instead of MIG welding and that the nozzle that was on it was actually correct. All that being said, I was able to get it fired up and working pretty quickly (I had tried a test run a few nights earlier).
So after about 30 seconds I had my first failure. I had a burn-through in the original floor. It must have been thinner than it looked or perhaps I just don’t know what I’m doing and held it in one spot too long. Long story short I kept moving on. Every few minutes I’d stop welding, get the grinder and grind down the welds, identify the gaps/holes/etc. and then go back to welding. It took about 3 hours to get the first patch panel completely installed. (I actually started the day by finishing drilling out the windshield hinge brackets that I started on my last time in the shop that ended up taking a little more than an hour.)
 After lunch I jumped back into it and this time with help. My wife had come out and wanted to help. I marked up the second patch panel (the one behind the rollbar support) with a marker and handed my wife the cutting wheel. She rocked it back and forth and cut a pretty straight line. She handed it over to me and I finished up and we had an almost square hold to fill with new metal.
Again we used cardboard to mock up the replacement and marked and cut it out with the cutting wheel from the sheet metal. After fitting it into the hole and fine tuning a little I tack welded it into place. Then I started filling in the gaps and working my way around the piece. Before long I started seeing smoke. After a few more minutes I saw the flame and realized the plastic inner fender liner had caught fire. Easy enough though, my wife had gotten a fire extinguisher a few weeks ago for situations just like this. It wasn’t a bad fire or anything but I had her bring over the extinguisher and we put out the flame. A little while later and the second patch was in place.
 By that time it was pretty late in the day and it had been a fairly taxing process to get everything in place and attached properly. I ground all the welds flat and decided to call it a day. Tomorrow I’ll finish up the remaining patch under the roll bar (all of these you won’t be able to see when I reinstall the rollbar which is why I started here to test out my skills).
